
A timber floor rarely “looks tired” all at once. It happens quietly – a faint haze that won’t buff out, tiny scratches that catch the light, or boards that start to cup near the sink. Most of that wear isn’t from foot traffic alone. It’s from cleaning that’s a little too wet, a little too harsh, or just slightly wrong for the finish.
Protective cleaning methods for timber floors are less about making them shiny and more about keeping the finish intact. The finish is the floor’s armor. Once you thin it, soften it, or grind it with gritty residue, the timber underneath becomes the thing you’re cleaning – and that’s where repairs get expensive.
What you’re really protecting: finish first, timber second
Timber floors come with different “skins.” Some are sealed with polyurethane (common and durable), some are oil-finished (beautiful and repairable but particular), and some are waxed (less common, high-maintenance, easily damaged by the wrong products). Engineered timber adds another layer of nuance – it’s still real wood on top, but it reacts differently to moisture depending on core construction.
The trade-off is simple: the stronger the coating, the more forgiving it is to daily life, but the more likely it is to show streaking or haze when cleaned incorrectly. Oil finishes hide minor scuffs better and age gracefully, but they can be stripped by the wrong degreasers and are more sensitive to excess water.
If you don’t know your finish, treat the floor like it’s oil-finished until proven otherwise: use minimal moisture, pH-neutral cleaner, and no “miracle shine” products.
The quiet damage: grit, water, and residue
If timber floors had three natural enemies, they’d be grit, standing moisture, and cleaner buildup.
Grit is microscopic sandpaper. It’s what turns a high-end finish into a dull one even when you “clean all the time.” Water is more dramatic – it seeps into seams, swells fibers, and can lead to cupping or discoloration. Residue is the sneaky one. Many popular cleaners leave a film designed to look glossy at first, then it attracts dirt, prints easily, and slowly clouds the finish.
Protective cleaning is designed to remove soil without feeding any of those three problems.
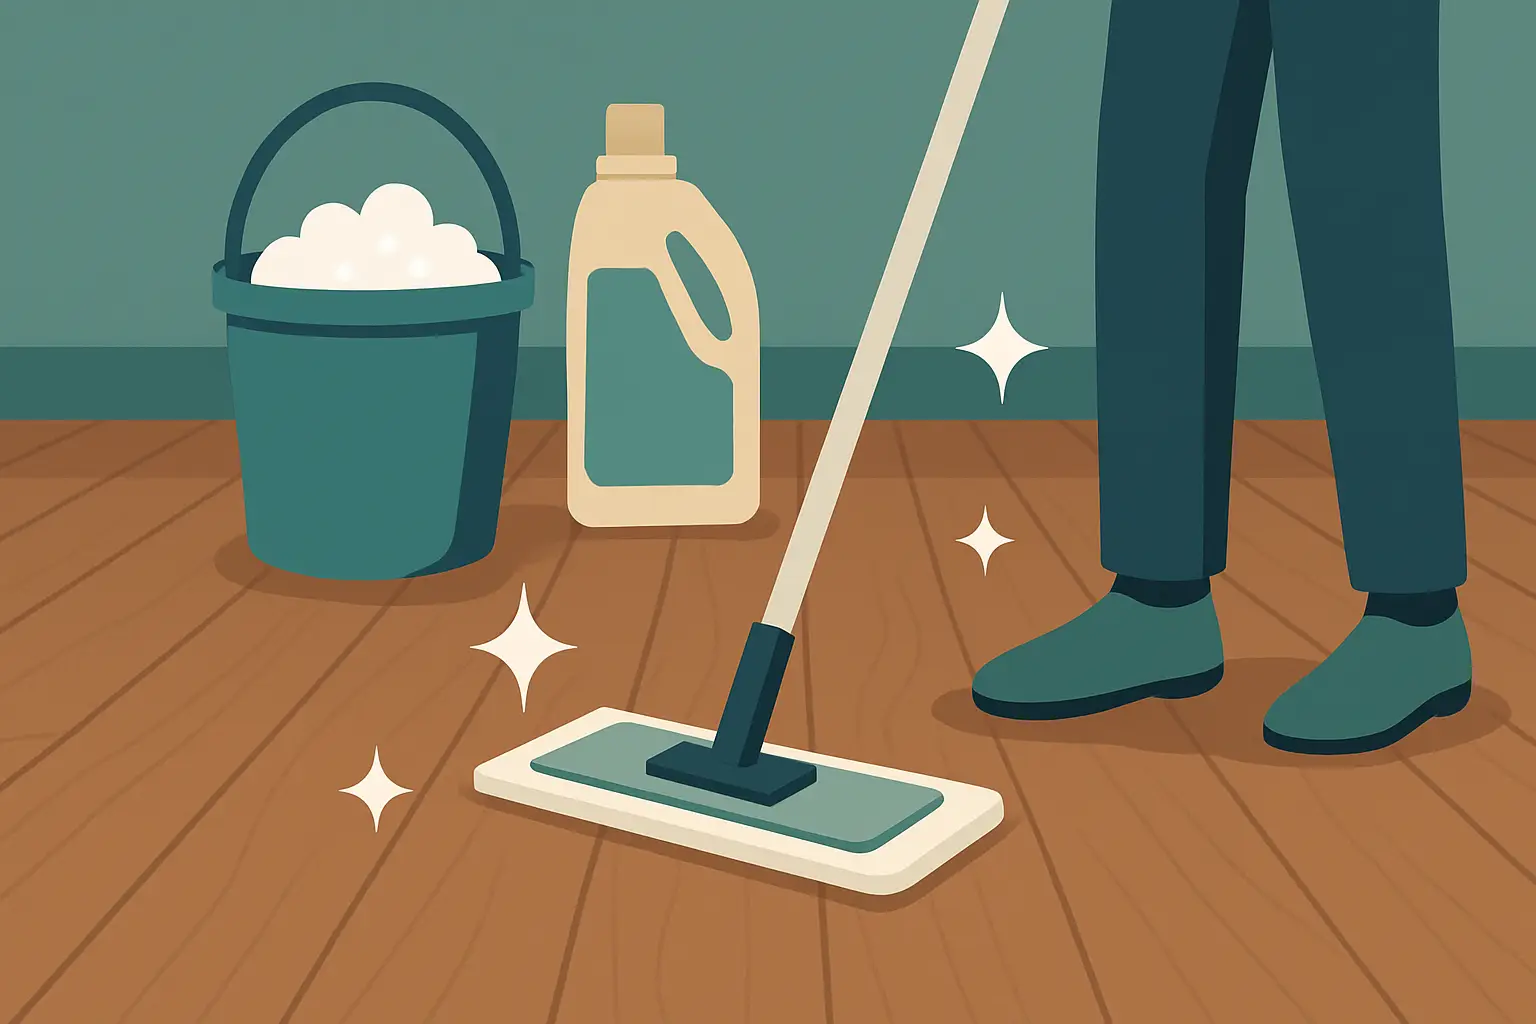
Protective cleaning methods for timber floors (the routine that preserves radiance)
A protective routine doesn’t have to be complicated, but it does have to be consistent. Think of it as light, frequent care that prevents heavy, risky interventions later.
Start dry – and stay gentle
Your first pass should almost always be dry removal. A soft-bristled broom or a microfiber dust mop picks up grit without flicking it into corners. If you vacuum, use a hard-floor setting and make sure the head is clean and free of anything that can drag. Some vacuums are excellent at suction but rough at the nozzle – if you hear a hard rattle, that’s your sign to switch tools.
The protective principle here is friction management. The less grit you leave behind, the less abrasion your next step creates.
Damp mop means “barely damp,” not “freshly wrung”
A timber floor should never feel wet underfoot after cleaning. If it does, you used too much water.
Use a microfiber mop head (not a string mop) and mist your cleaning solution onto the mop or onto the floor in a controlled way – small sections at a time. Your goal is to lift soil and evaporate quickly, not to “wash” the boards like tile.
If you’re cleaning near a dishwasher, fridge line, pet bowl, or exterior door, slow down and reduce moisture even further. Those areas already have higher risk of water exposure, and boards there tend to show movement first.
Choose the cleaner like you’re choosing skincare
The safest default is a pH-neutral cleaner made specifically for finished wood floors. That usually means no added waxes, no acrylic “polish,” and no heavy fragrance oils that can leave residue.
Avoid products that promise a fast shine with a coating effect. They can look impressive for a week, then start the cycle of haze and streaking that requires stronger and stronger cleaning to “fix.” It’s the opposite of stewardship.
Also avoid strong alkaline degreasers and acidic vinegar solutions. Vinegar is often suggested as “natural,” but acidity can etch certain finishes over time and can dull the look you’re trying to preserve. Degreasers can soften coatings, especially on oil-finished floors.
If you’re unsure, test in a discreet spot and look for two things after it dries: no tackiness and no cloudy film when viewed at an angle.
Rinse rarely, and only when you must
For most pH-neutral wood floor cleaners used correctly, a rinse step isn’t needed. But if you’re correcting a residue problem (sticky feel, dull haze, visible streaking), a controlled rinse can help.
The protective version of rinsing is a second microfiber mop lightly dampened with clean water, used sparingly and dried quickly. You’re not flooding the floor – you’re picking up what the first pass loosened.
Spot cleaning without leaving a “clean mark”
Timber floors often suffer from enthusiastic spot cleaning. You scrub one spot hard enough to remove the soil – and now you have a lighter patch or a shinier patch that reads as damage.
For spills, blot first with a soft cloth. Then clean with a lightly damp microfiber cloth and a small amount of your wood-safe cleaner. Dry immediately.
For sticky residue, let the cleaner dwell for 20-30 seconds (not minutes), then wipe gently. Dwell time is safer than pressure. Pressure is what grinds grit into the finish.
For scuffs, try a microfiber cloth with a tiny bit of cleaner and gentle rubbing along the grain. If it doesn’t lift easily, stop. Persistent scuffs may be in the finish itself, and aggressive rubbing can turn a small issue into a visible burnish mark.
What to avoid if you want the finish to last
Some habits are so common they almost feel “normal,” but they shorten the life of a timber finish.
Steam mops are the big one. Even when they don’t leave visible moisture, the combination of heat and vapor can force moisture into seams and soften some coatings over time. Many floor manufacturers explicitly void warranties if steam is used.
Abrasive pads and “magic eraser” style melamine sponges can also be risky. They work by micro-abrasion. On a painted wall, that’s one thing. On a timber floor finish, it’s quiet sanding.
Finally, skip soap-based cleaners like oil soaps unless you know your floor is meant for them. They can leave a residue that attracts dirt and becomes difficult to remove.
High-traffic zones: protect first, then clean
If your entryway or kitchen always looks worse than the rest, cleaning isn’t the only lever. Protection reduces how much cleaning force you need.
Use door mats that actually trap grit (not flat decorative ones that just get damp). Add felt pads under chairs and refresh them before they wear through. In rolling-chair zones, a floor-safe mat can save you from a patchwork of micro-scratches.
For homes with pets, keep nails trimmed and prioritize dry soil removal. Pet hair itself isn’t the issue – the grit it carries is.
When “more cleaning” is a sign you need a different approach
If you feel like you mop and mop and the floor never looks crisp, you may be dealing with buildup rather than dirt.
Buildup looks like haze, streaks that reappear as it dries, or a dullness that’s worse in the center of the room than at the edges. That’s a clue that product is accumulating where you walk most.
Correcting it can be delicate because aggressive stripping can damage the finish. This is one of the moments where it’s worth bringing in a premium cleaning team that understands finish-preserving methods. If you’re in the Adelaide area and want that kind of heritage-quality care, Rosewood & Luster approaches timber and other sensitive surfaces as assets – with controlled moisture, precise product choice, and a focus on keeping the finish beautiful, not just temporarily glossy.
Special cases: oil-finished floors, engineered boards, and new builds
Oil-finished floors often benefit from manufacturer-approved maintenance oils rather than frequent wet cleaning. They can be remarkably forgiving with spot repairs, but they’re less forgiving with harsh cleaners. If your floor has a matte, natural look and seems to “drink in” product, confirm the finish before you treat it like polyurethane.
Engineered timber can be stable, but it’s not immune to moisture intrusion at seams. Protective cleaning still applies: minimal water, quick dry, and careful attention around appliances and exterior doors.
New builds and post-renovation homes deserve a separate mention. Construction dust is fine, abrasive, and persistent. If you move in too quickly with a standard mop routine, you can grind that dust into the finish. In those cases, multiple dry passes and a carefully controlled damp clean is safer than trying to “wash it away” in one go.
The calm standard: what a well-cared-for timber floor feels like
A properly maintained timber floor has a specific kind of quiet to it. It feels clean without feeling slick. It reflects light without looking plastic. It doesn’t smell like perfume or chemicals. Most importantly, it stays consistent – no surprise dull patches, no sticky zones, no creeping edge damage near wet areas.
If you treat cleaning as an act of stewardship, your floor rewards you with longevity. The best protective method is the one that keeps you from needing dramatic fixes: remove grit often, use minimal moisture, choose residue-free products, and let the finish do its job.
Leave yourself with one simple guiding question the next time you reach for a mop: “Will this make the floor look better today, and still protect it a year from now?”
Leave a Reply